 Please sign in to view all the articles in the help center
- Release Notes From CENTRL
We are excited to introduce new features and enhancements for our upcoming release on February 12th, 2019.
Here's what to expect:
Assess360 / Vendor360
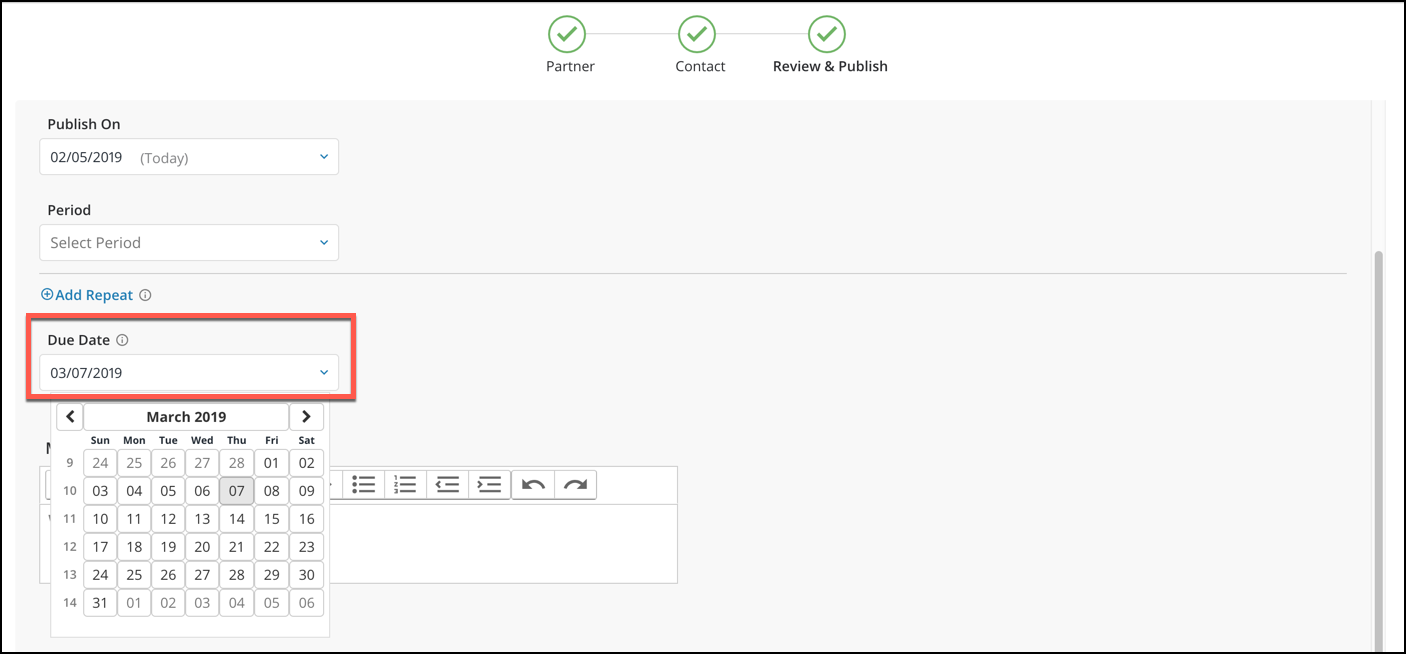
- Due dates on assessments are now set by default to 30 days in the future. Users can always change the due date, as well as configure the default number of days. To change the due date, click on the Due Date of the Review & Publish screen and select the appropriate due date.
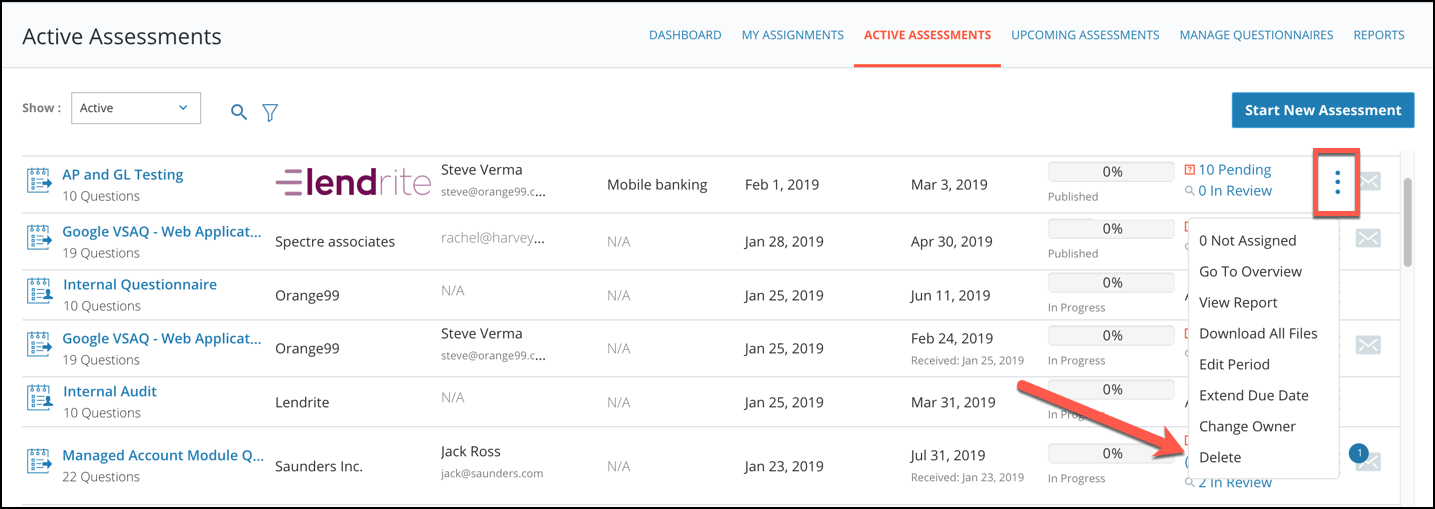
- Questionnaire Admins will have the ability to delete assessments that are not marked as complete to help maintain assessments. To delete assessments, go to the Active Assessments page and click the 3 dots next to an assessment that is not Complete. Then click Delete to open the confirmation modal.
 Users will have the option to notify the recipient the assessment is no longer accessible. Once ready, users can click Delete Assessment to confirm the deletion of the assessment.
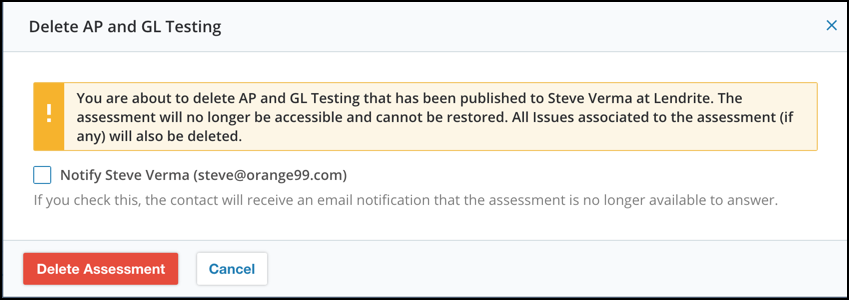
- All questions can now be selected at once when evaluating an assessment to assign questions faster. This will appear at the top of the assessment. Once clicked, it will select all questions shown in the view.
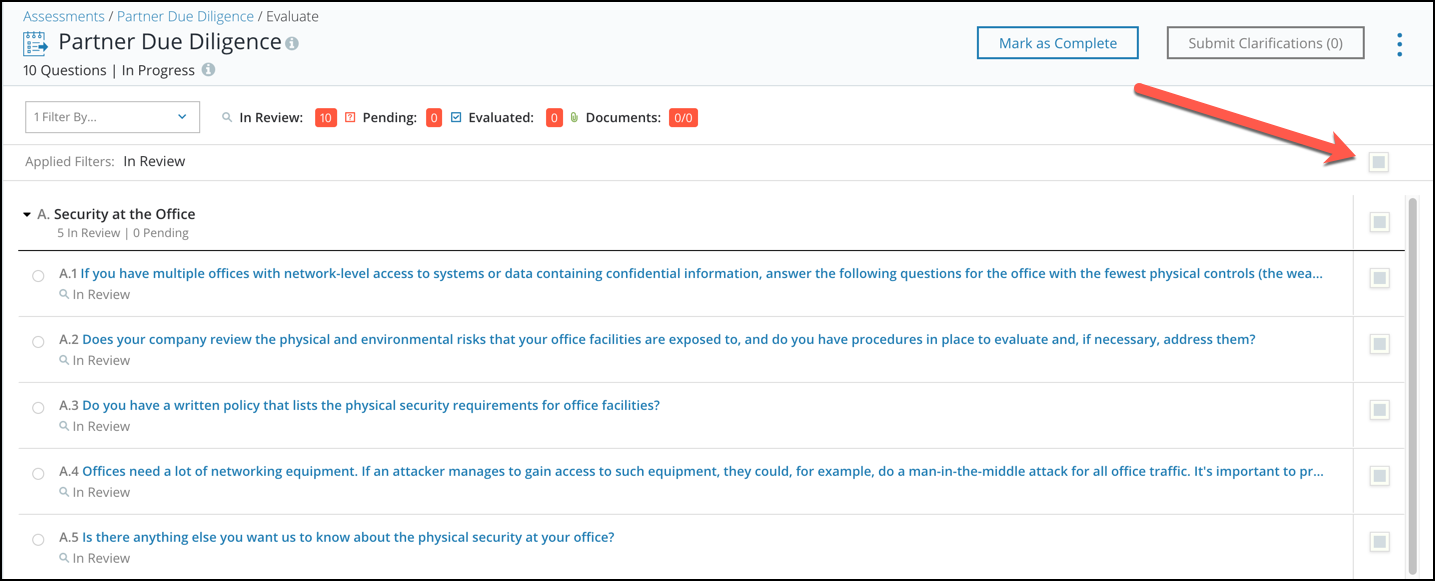 Once selected, users can assign questions to another user for evaluation.
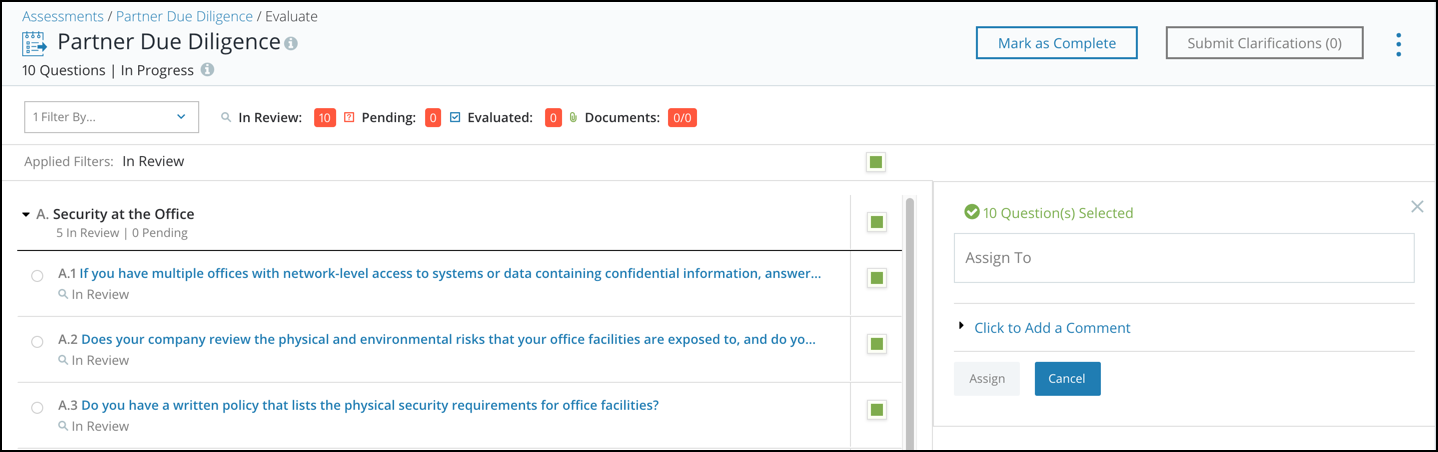
- Downloading all files of an assessment will also download the assessment.
Privacy360
- Craft and maintain your data inventory with both questionnaires and data-discovery tools.
- Tailor the data inventory to your business with custom fields.
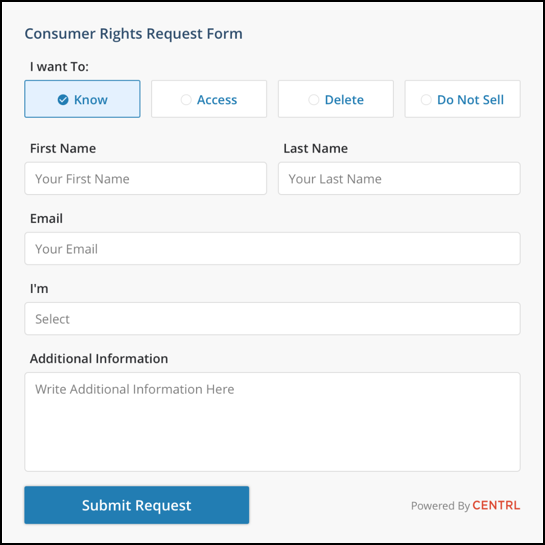
- Comply to Do-Not-Sell requests with new reports and an enhanced consumer rights request form.
- Complete processing activities with questionnaires, new answer types, interactive suggestions, and team collaboration.
Platform
- If enabled, users can add new values on the Partners/Vendors page without having to add them in the System Admin. To enable this, go to the System Admin page and click the Advanced Config. tab.
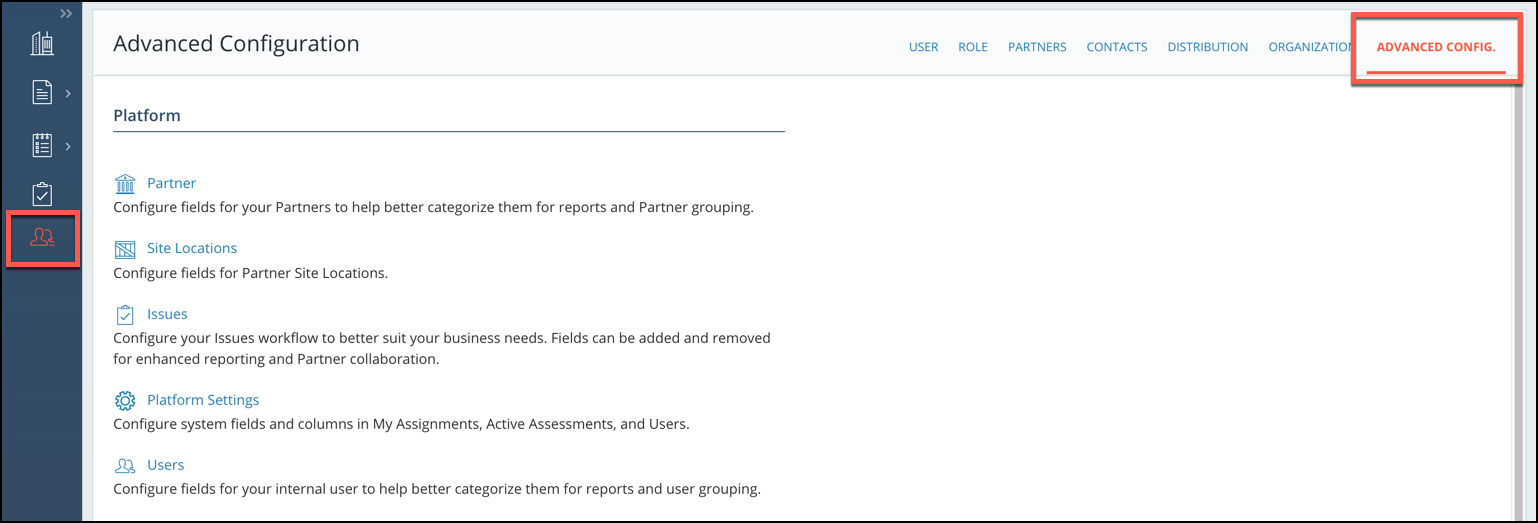 On the System Config. page, select Partner or Vendor depending on your module.
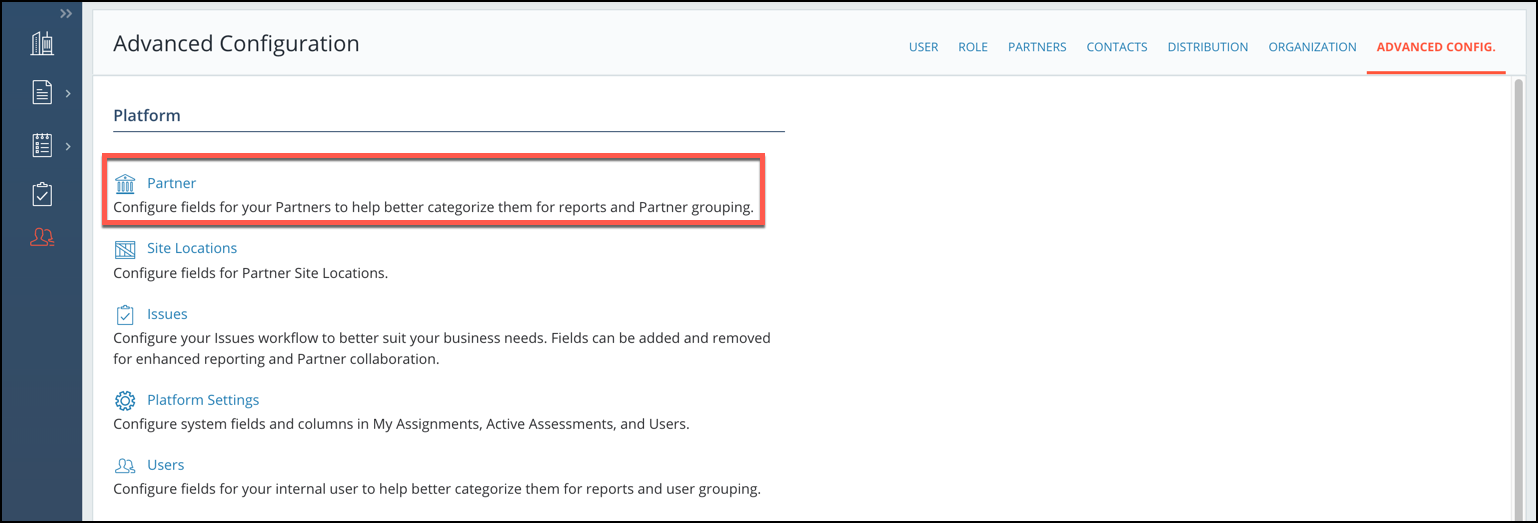 On the Partner/Vendor page, you can click Add Partner Field to create a new field.
 For Dropdown type fields, users can add Sub-Types Single-Select-With-Add or Multi-Select-With-Add.
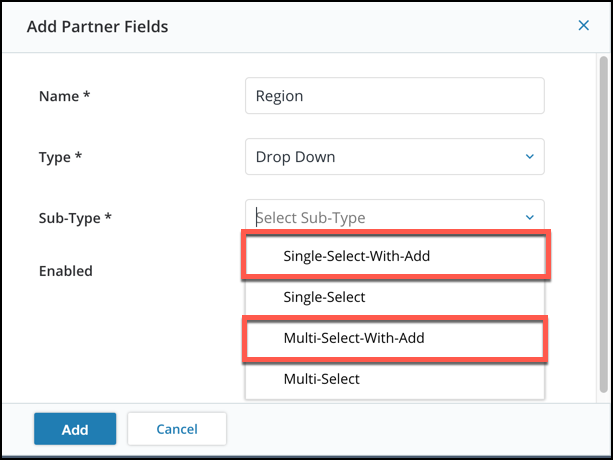
Once this is enabled, on the Partner Profile page, users can add values for the field within the page instead of adding it in the System Admin page.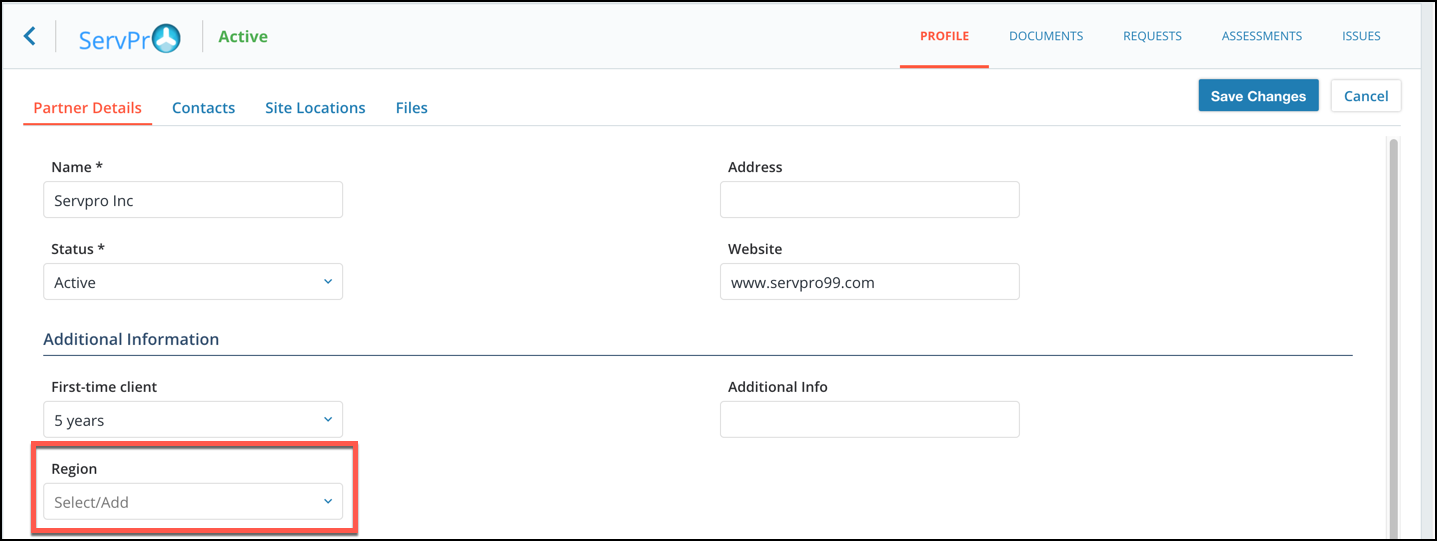
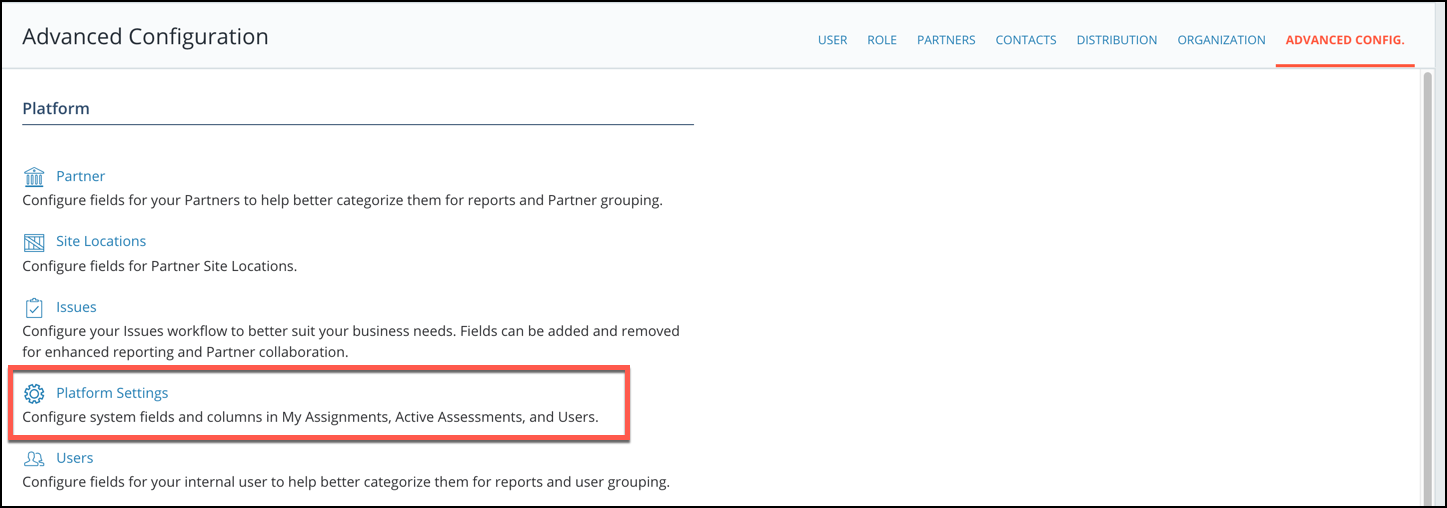
- Ability to rename the Partner field to accommodate various business practices. To rename the Partner field, click Platform Settings in the Advanced Config.
 Once on the Platform Settings page, click Edit for the Partner field name to change the name of the Partner field.
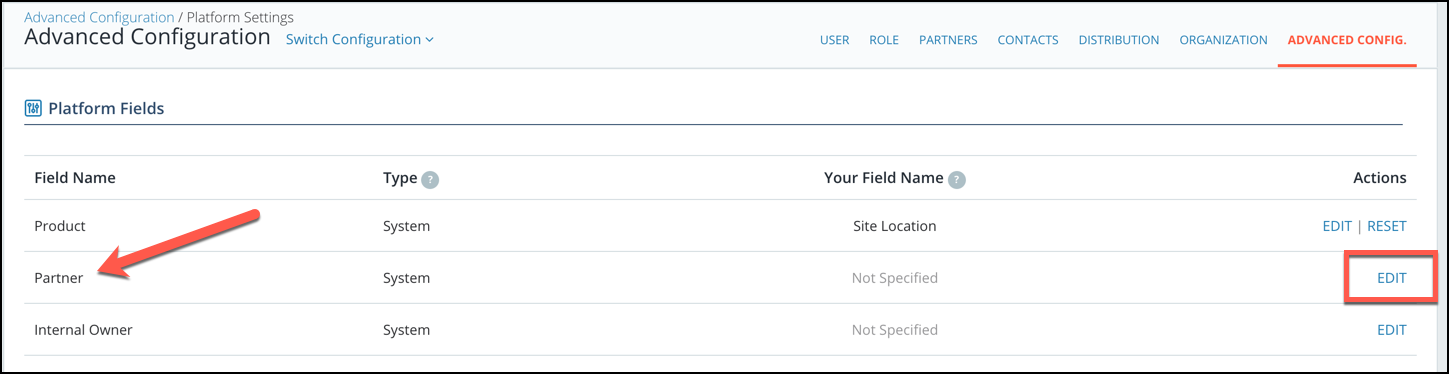
- New invitation history for contacts that will track previously sent invitations and resend invitations. To access the invitation history, go to the Contacts tab in the Partner Profile or System Admin page.
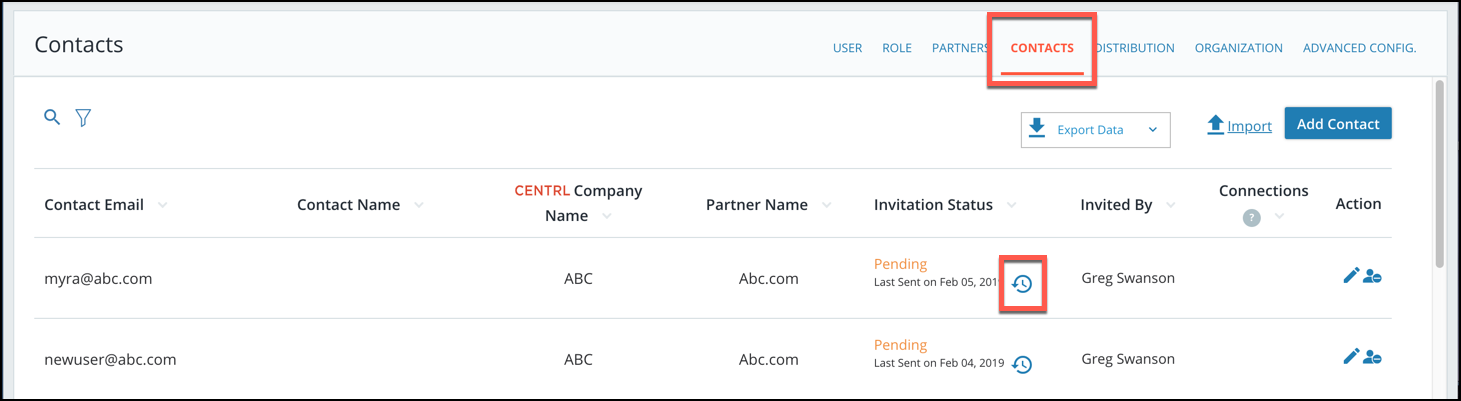 Then click on the clock icon next to the Invitation Status to see the history. From here, users can resend the invitation to their contact.
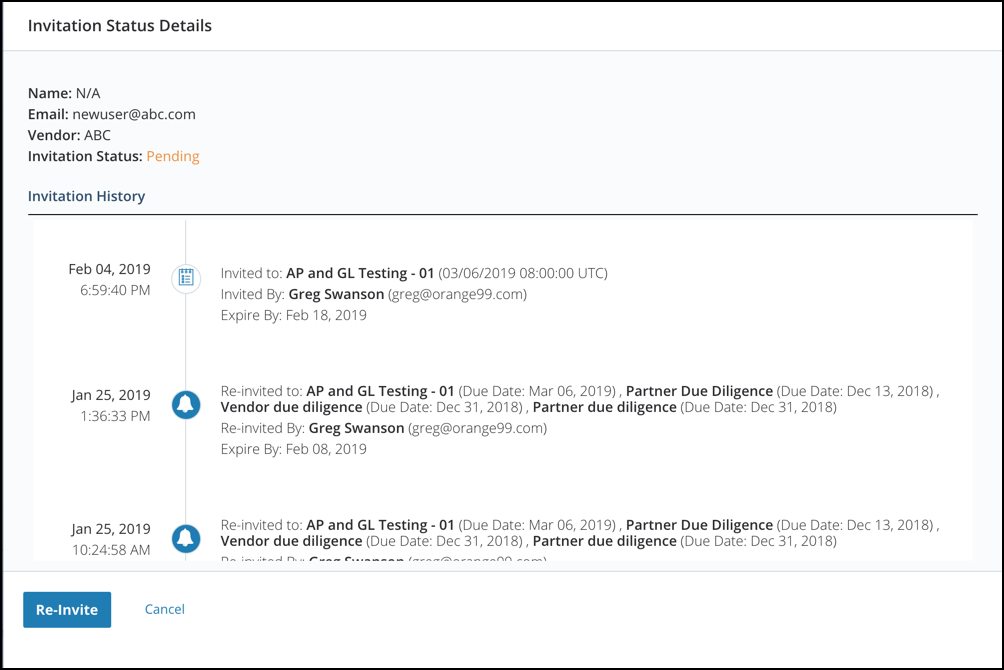
Reporting
- Enhanced dashboards and usability improvements.