Users must obtain approval before sending a document folder to clients and partners, before publishing and distributing it. When a document folder is created, it remains in draft status until it receives approval. Once it is approved, it can then be published and sent out.
Note: The action buttons for the process can be found on multiple pages, but the process will still be the same:
Submit for Approval > Approve > Publish
This article covers the following topics:
- Pages Where to Publish
- Navigating To Folders
- Submitting For Approval
- Approving a Document Folder
- Publishing a Document Folder
Pages Where to Publish
1. To begin the document publication process, you can start doing so by navigating to the following page:
Documents page
Quickview
File Viewer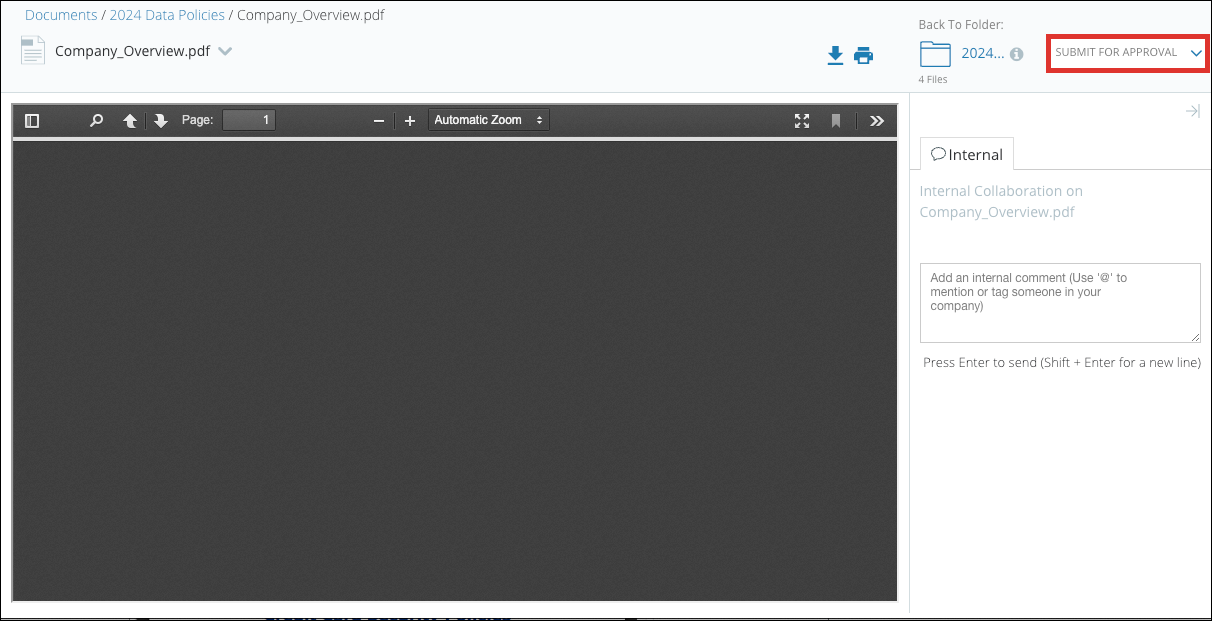
Folder Overview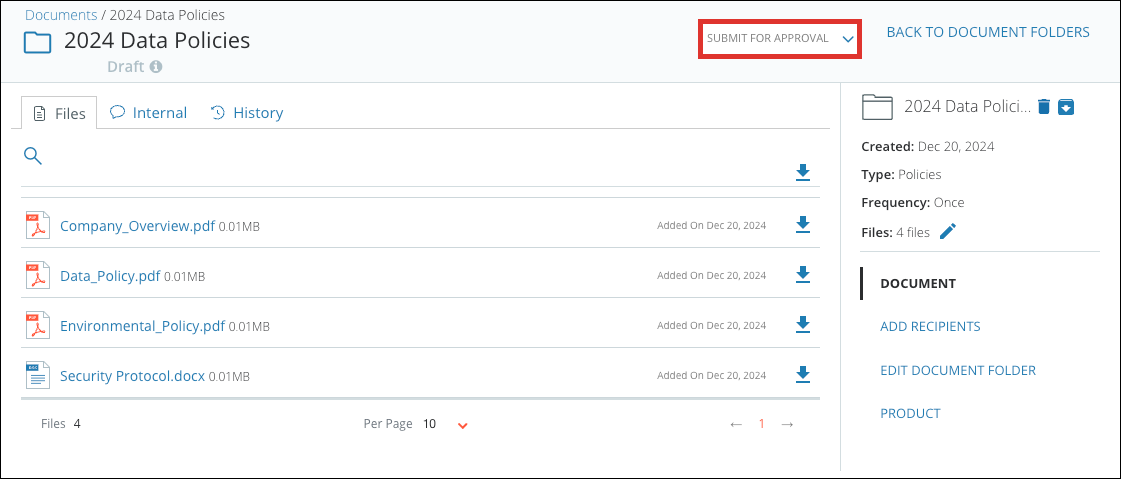
Navigating to Folders
1. Navigate to the Folders Screen from the Documents Module and navigate to the folder you want to submit for approval.
Submitting For Approval
1. Within the Folders Screen, navigate to the dropdown arrow under the Actions column on the folder you want to submit and select the Submit For Approval option.
2. Within the Submit for Approval modal, you can enter an optional message and click the Submit For Approval button to finalize the submission
Approving a Document Folder
1. Navigate to the document pending approval, click on the dropdown under the Actions column, and select the Approve option
2. You can type a message and tag users within your organization. Once you are done, click Confirm Approval.
Publishing a Document Folder
1. Navigate to the desired document folder and click the Publish button under the 'Actions' column.
2. In the Publish modal, you can utilize the search box to add your desired recipients and select them individually on the right side.
3. Once you have selected your recipients, you can customize their permissions by clicking the Advanced Permissions link.
5. Within the next window, you can select the company's permissions or each specific recipient.
To learn more about advanced permissions, please refer to our following help article:
6. After selecting the desired recipient(s) and/or modifying the necessary permissions, you can add an optional message and an optional email notification to your recipients.
7. To publish the document folder to your recipient(s), click Send, as shown below.