Release Notes From CENTRL
We are excited to introduce new features and enhancements for our upcoming release on July 9th, 2019.
Here's what to expect:
Assess360 / Vendor360
- Questionnaires can be scored using points allocated to questions. This can be done in the Edit Questionnaire page by clicking the Score Key button at the top of the questionnaire. From here, click the Pencil icon to change the grading methodology.
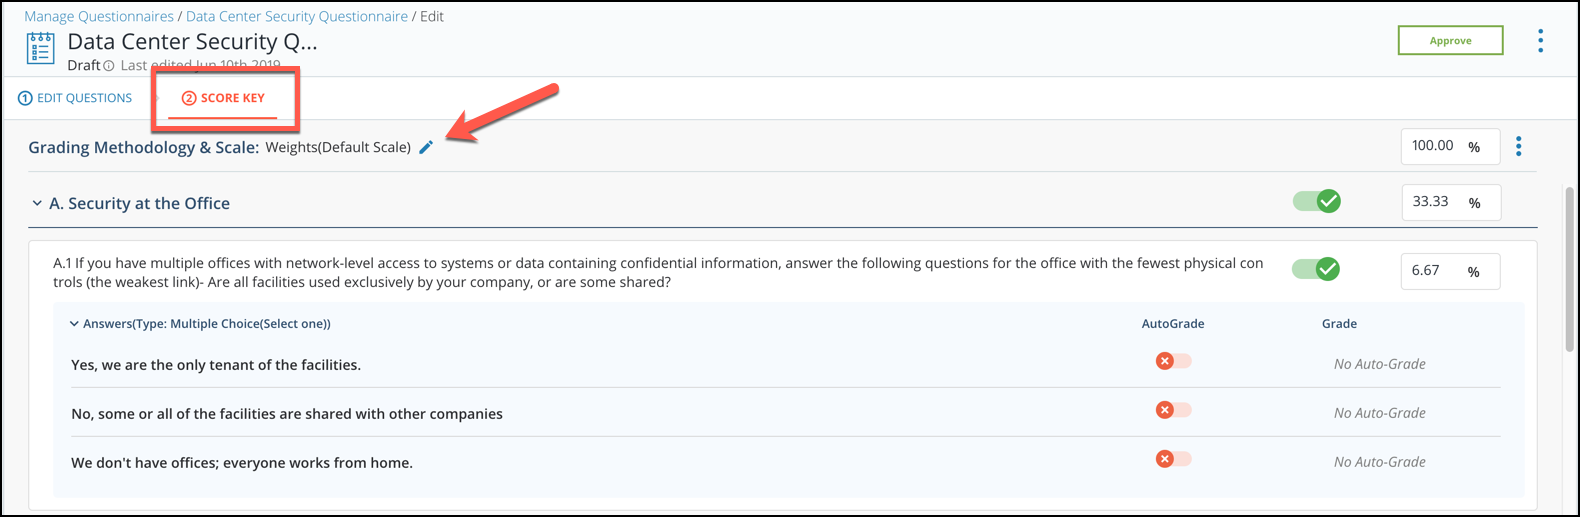
Here you can choose between Max Score and Weights for the methodology and select your grading scale to save.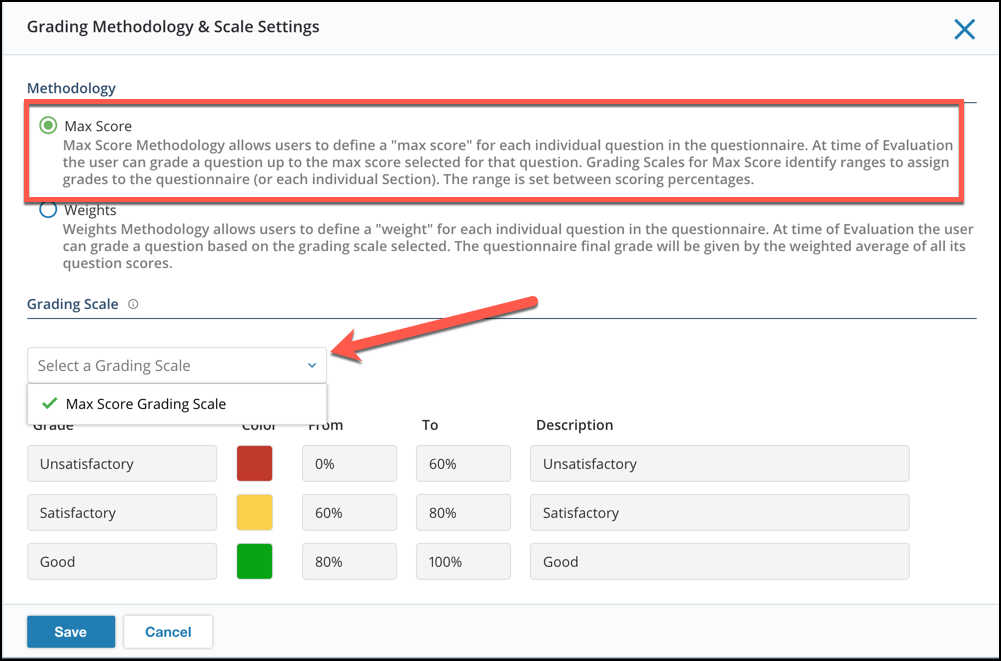
If there is no grading scale for the Max Score methodology, Assessment Admins can create a new grading scale by going to the Assessment Admin page shown below and creating a new Max Score Scale.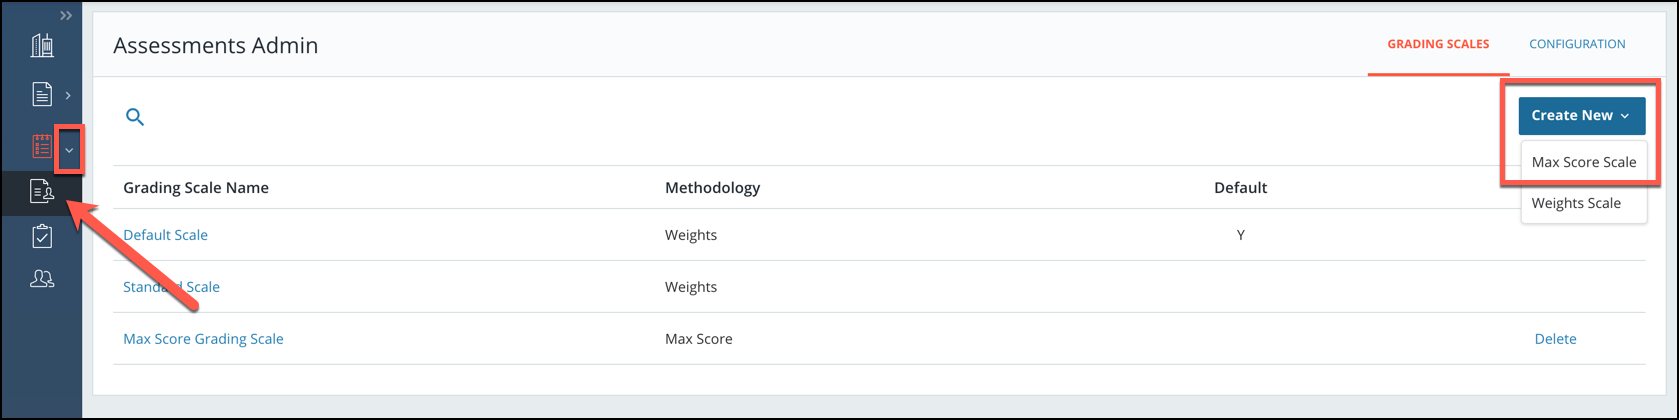
From here, users can add the preferred number of grading intervals. Please note the From(%) scale will always start from 0% and users can fill in their preferred percentages.
- Scoring can be disabled for sections, sub-sections, and questions. This is useful for questions that are informational and do not need evaluation. This can be done in the Edit Questionnaire page by using the toggle button next to the score. If scoring is disabled, under the score, the text will say "Not Scorable."
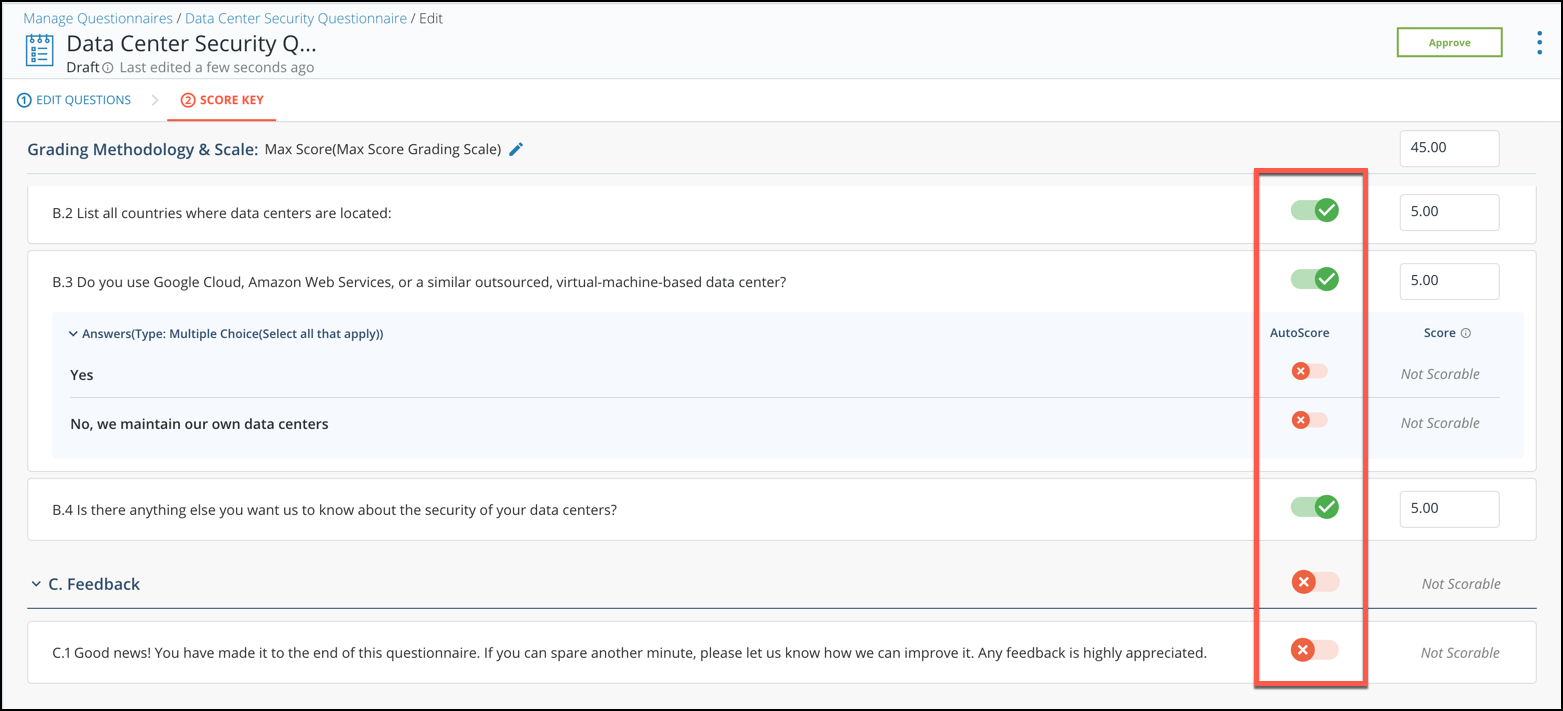
- The Score Key can be found in the Edit Questionnaire page instead of the Overview page.

- Enhanced functionality to map question responses to attributes, providing more efficiency in harvesting responses. The Map Answer functionality can be found in the Edit Questionnaire page when the questionnaire is in draft. On a question, toggle the "Map Answer To Attribute" and select where you would like to map the answer to.
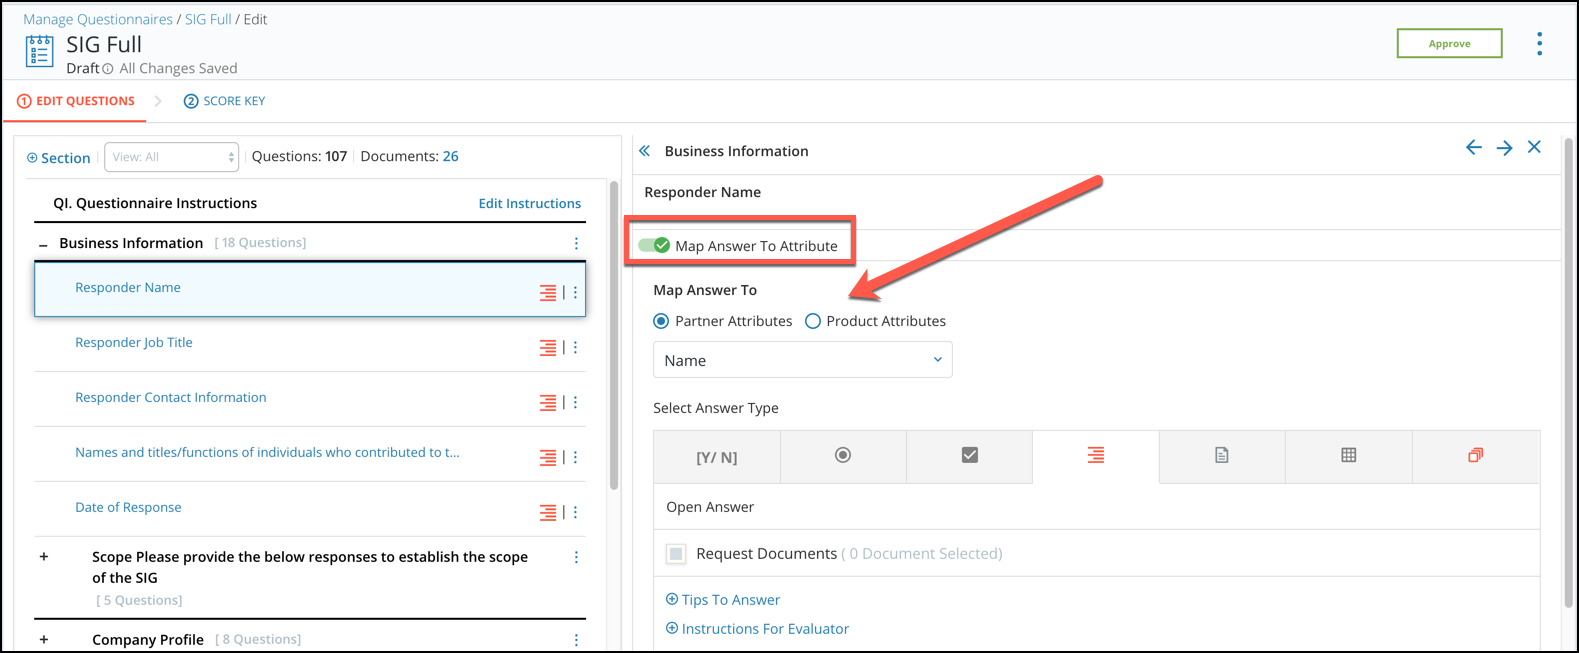
- Questions mapped to attributes will have answer types suggested to quickly manage the questionnaire. For example, if mapping a responder name, the answer type will default to open answer and disable any other answer types that do not fit this type of answer.
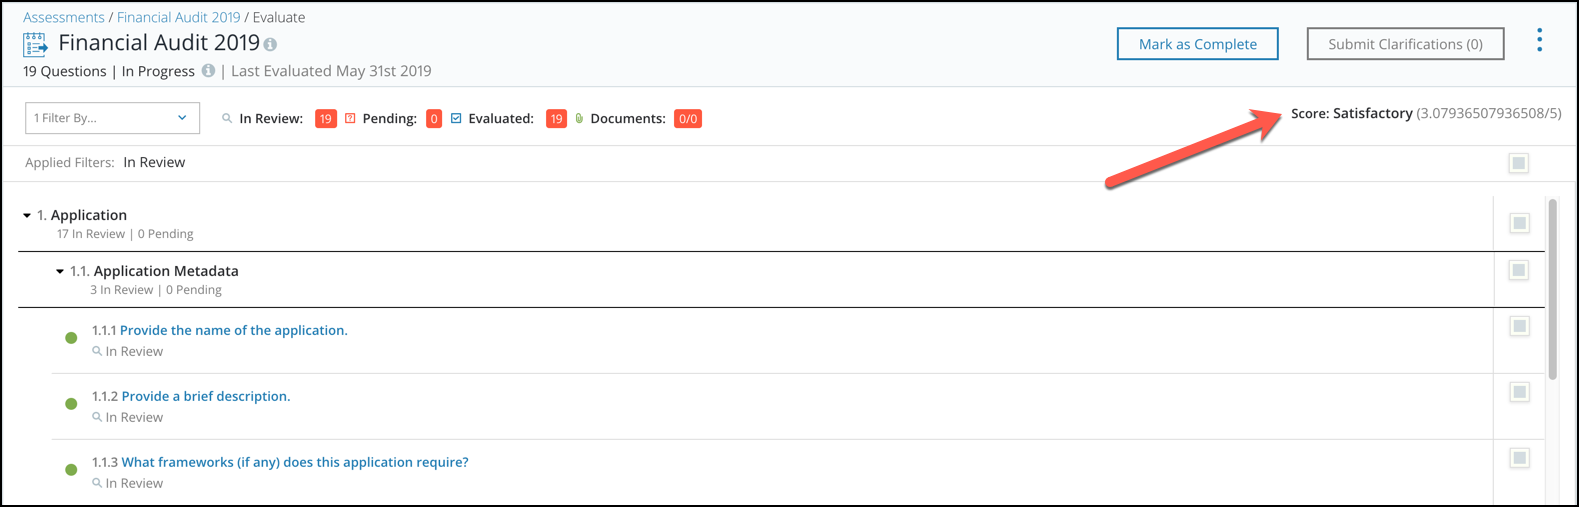
- Users can review the assessment score in the evaluation screen.
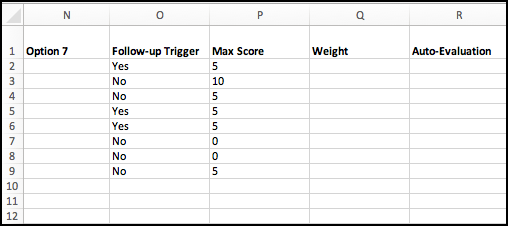
- Users can add follow-ups as well as set score keys to the digitization import template.
- Improved look-and-feel of the Mark as Complete modal.

Privacy360
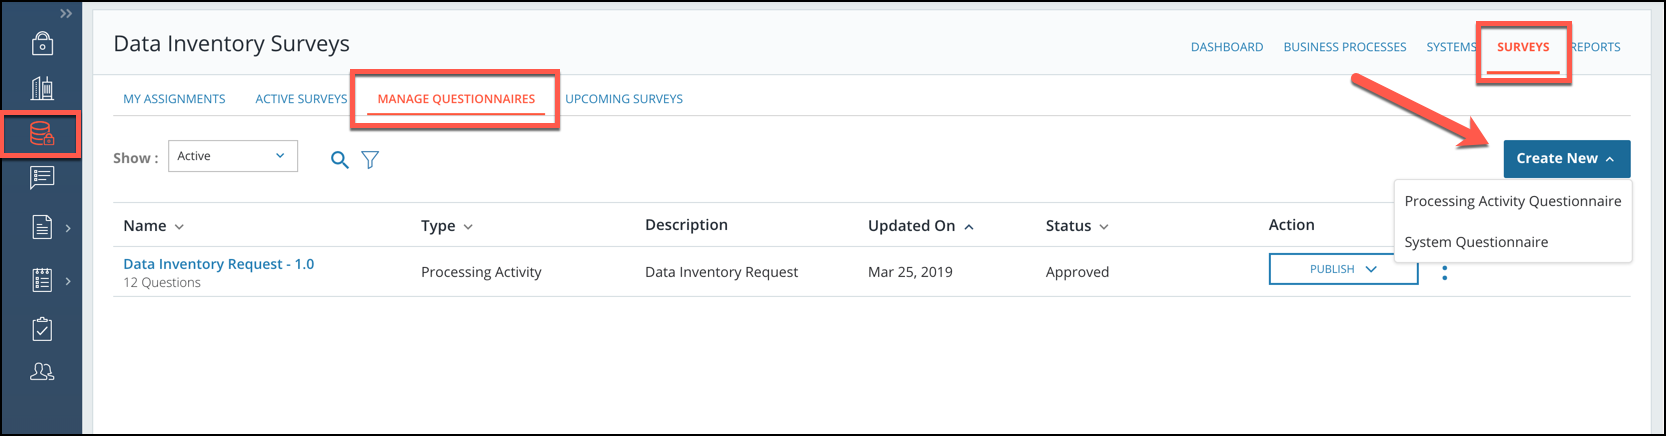
- Create and manage custom data inventory requests for both systems and processing activities. Users can go to the Data Inventory module and navigate to the Surveys tab. From here, click the Manage Questionnaires tab to create new data inventory requests.
- Enhanced functionality to map question responses to attributes, providing more efficiency in harvesting responses. The Map Answer functionality can be found in the Edit Questionnaire page when the questionnaire is in draft. On a question, toggle the "Map Answer To Attribute" and select where you would like to map the answer to.
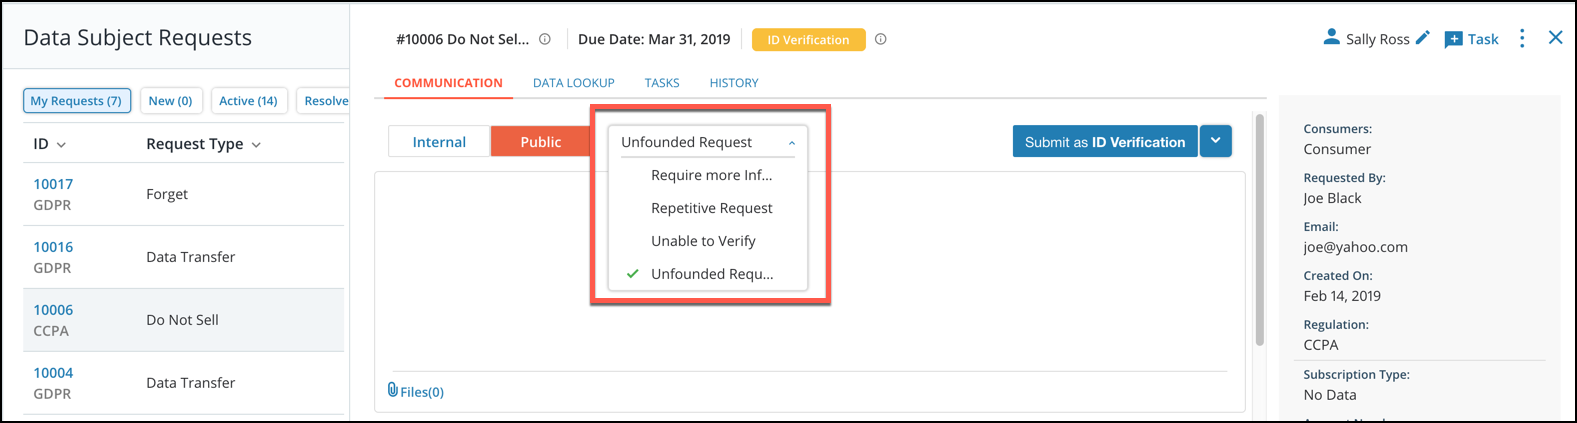
- Increase the size of the request comment area and improve visual styling for Data Subject Access Requests (DSAR).
- Scope custom response templates to one or many rights. On a DSAR request, response templates will appear based on right to minimize unnecessary templates.
- Include custom attributes in bulk imports for data inventory, processing activities, and systems.
Platform
- Custom attributes are included for partners/vendors.
- System Administrators can configure page columns for their company on the Issues Detail page and Partner/Vendor space. Admins can go to the System Admin module, click Advanced Config., and then navigate to the Platform Settings to configure these page columns.
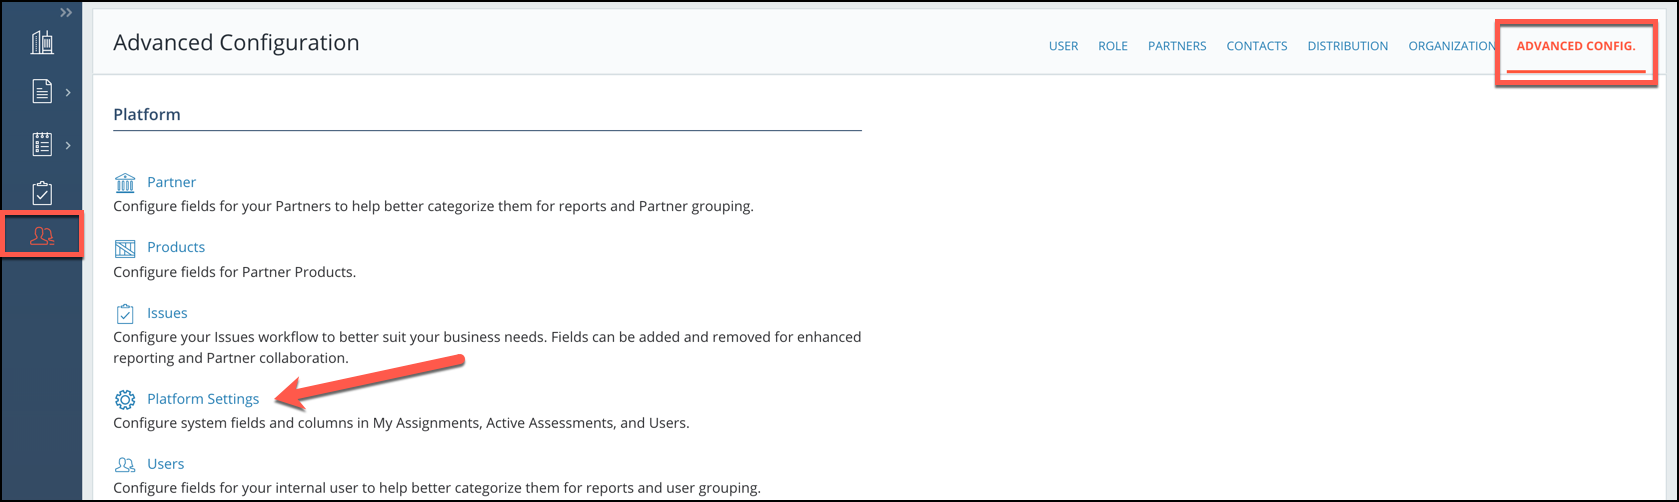
From here, click on the Edit button for the page you would like to configure and add/remove any columns you would like to appear.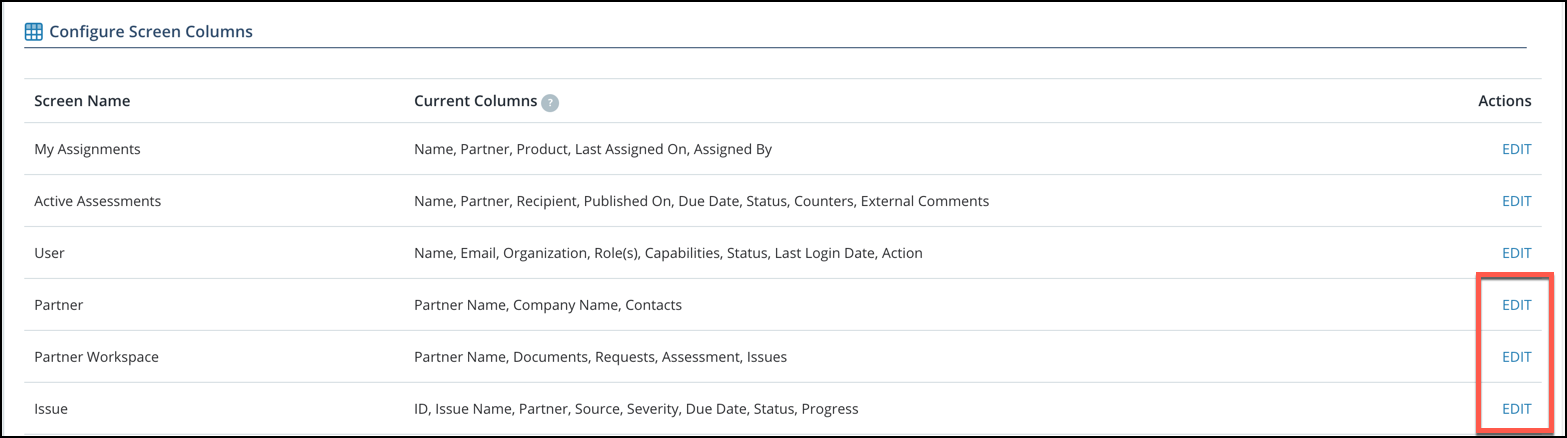
- System Administrators can also configure the left navigation bar according to their organizations needs. Admins can contact our CENTRL Support Team (support@oncentrl.com) to have this configured for them.
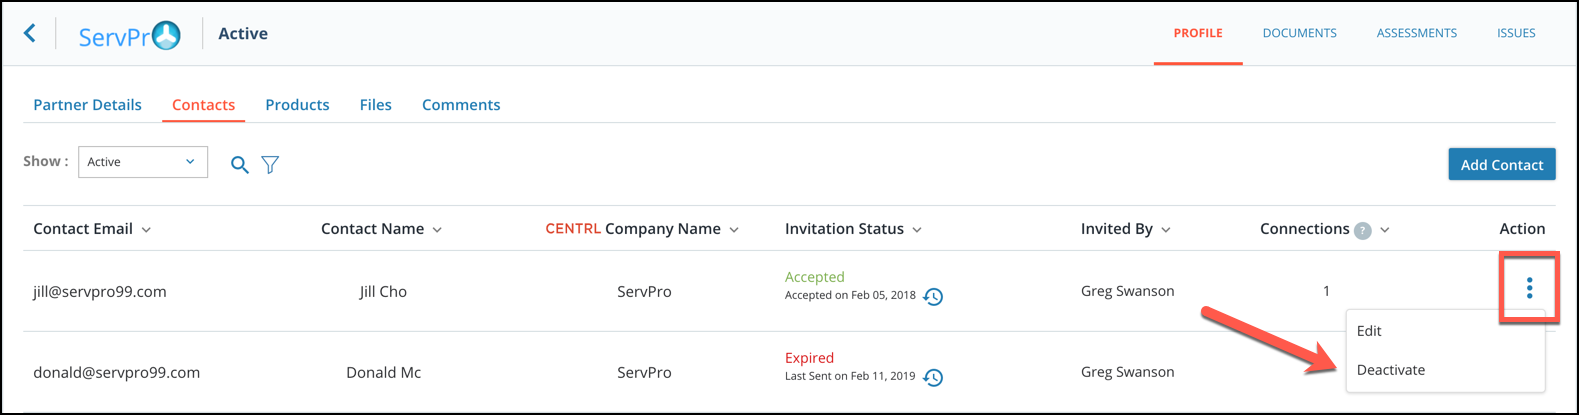
- Users can deactivate contacts that have existing connections. To deactivate a contact, users can go to the Partner Profile and click the Contacts tab. On the contact the user would like to deactivate, click the 3 dots and click Deactivate.
Reporting
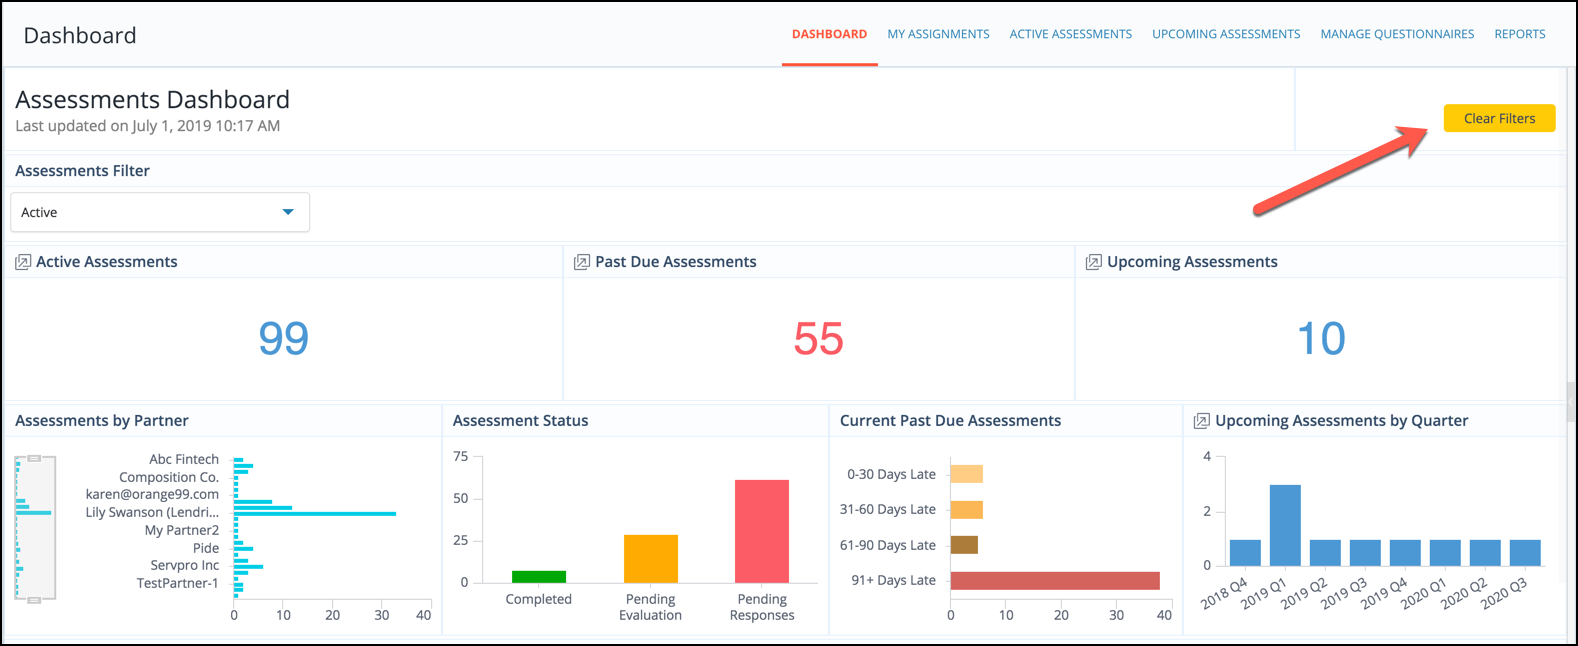
- Enhanced dashboards and usability improvements.
- Ability to clear filters on all reporting dashboards. On any dashboard, a Clear Filter button will appear in the top right to quickly clear the filters.